Built-in User Management
GreptimeDB Enterprise provides a built-in user and permission system backed by the Metasrv. It supports Role-Based Access Control (RBAC) and fine-grained Access Control Lists (ACLs) to ensure data security and isolation.
Key Features
- Built-in User Management: User accounts and permissions are stored in the Metasrv, ensuring consistent management across the cluster.
- Role-Based Access Control (RBAC): Assign global privileges to users,
controlling operations like
SELECT,INSERT,CREATE TABLE, and more. - Fine-grained ACLs: Control table-level access within specific databases using exact matches or regular expressions.
- Dynamic Management: Manage users dynamically via HTTP APIs without restarting the server.
- Initial Seeding: Support for seeding initial accounts from a password file at startup.
Configuration and Explanation
This section walks through how to enable the enterprise user provider and perform basic user management.
1. Enable User Provider
To use the enterprise user and permission system, enable the
greptime_ee_user_provider in the component that receives client requests.
Configure it on the standalone server in standalone mode, or on each frontend
node in cluster mode.
The user provider value is:
greptime_ee_user_provider:<path-to-password-file>
The password file is optional and is used only for initial account seeding. To
enable the provider without seeding users, use greptime_ee_user_provider:.
The trailing colon : is required by the configuration parser.
Standalone command line:
./greptime standalone start \
  --user-provider=greptime_ee_user_provider:/path/to/passwords.txt
Standalone configuration file:
user_provider = "greptime_ee_user_provider:/path/to/passwords.txt"
./greptime standalone start \
  -c /path/to/standalone.toml
Frontend command line:
./greptime frontend start \
  --metasrv-addrs=127.0.0.1:3002 \
  --user-provider=greptime_ee_user_provider:/path/to/passwords.txt
Frontend configuration file:
user_provider = "greptime_ee_user_provider:/path/to/passwords.txt"

[meta_client]
metasrv_addrs = ["127.0.0.1:3002"]
Then start frontend with the configuration file:
./greptime frontend start \
  -c /path/to/frontend.toml
2. Initial Account Seeding (Optional)
The password file uses the following format:
<username>[:<role>]=<password>
Available roles:
admin: Full privileges, including user management.readonly(orro): Read-only access (SqlSelect).writeonly(orwo): Write-only access (e.g.,SqlInsert,TableCreate).readwrite(orrw): Both read and write access (default).
Example passwords.txt:
# username[:role]=password
superuser:admin=strong_password
alice:ro=alice_pwd
bob:rw=bob_pwd
Seeded users are granted full access (AclType::All) to the public database by default.
Seed accounts are created only once. If a seeded user already exists on later startups, it is skipped. You can modify seeded users later through the UI.
Privileges and ACLs
Global Privileges
Privileges include the following operations:
| Privilege | Description |
|---|---|
TableCreate | Create new tables |
TableAlter | Alter existing tables |
TableDrop | Drop tables |
SqlSelect | Execute SELECT queries |
SqlInsert | Execute INSERT operations |
SqlDelete | Execute DELETE operations |
FlowCreate | Create flows |
FlowDrop | Drop flows |
DatabaseCreate | Create databases |
DatabaseAlter | Alter databases |
DatabaseDrop | Drop databases |
Admin | Full administrative privileges |
TriggerCreate | Create triggers |
TriggerDrop | Drop triggers |
TriggerAlter | Alter triggers |
Predefined Role Privileges
When using the password file for seeding, the predefined roles map to the following privilege combinations:
| Role | Privileges |
|---|---|
admin | All privileges |
readonly / ro | SqlSelect |
writeonly / wo | SqlInsert, SqlDelete, TableCreate, TableAlter, TableDrop, FlowCreate, FlowDrop, TriggerCreate, TriggerDrop, TriggerAlter, DatabaseCreate, DatabaseAlter, DatabaseDrop |
readwrite / rw | readonly + writeonly privileges |
Access Control Lists (ACLs)
ACLs provide table-level security within a database. Each ACL entry is scoped to a database and controls which tables in that database the user can access.
The all ACL grants access to every table in the database. Use it when a user
should be able to read or write all current and future tables in that database,
subject to the user's global privileges.
The match ACL grants access to one table by exact name. Use it when a user
should only access a specific table and should not automatically gain access to
other tables with similar names.
The regex ACL grants access to tables whose names match a regular expression.
Use it when tables follow a naming convention and should be managed as a group.
For example, mem_.* matches table names that start with mem_,
.*_metrics matches table names that end with _metrics, and
sensor_[0-9]+ matches names such as sensor_1 and sensor_2024.
Regex ACLs are evaluated against table names within the configured database, so
use specific patterns when possible to avoid granting access to more tables than
intended.
Validation Rules
Username
Usernames must:
- Start with a letter (
a-zorA-Z) - Contain only letters, digits, and underscores
- Match the pattern
[a-zA-Z][a-zA-Z0-9_]*
Password
Password validation depends on how the user is created or updated:
- Seeded account passwords must not be empty.
- Passwords created or updated through the UI must be 6 to 64 characters long.
User Management in the Enterprise Dashboard
After you enable greptime_ee_user_provider, both GreptimeDB and the
Enterprise Dashboard require users to log in with an account.
The following screenshot shows the Enterprise Dashboard login page:
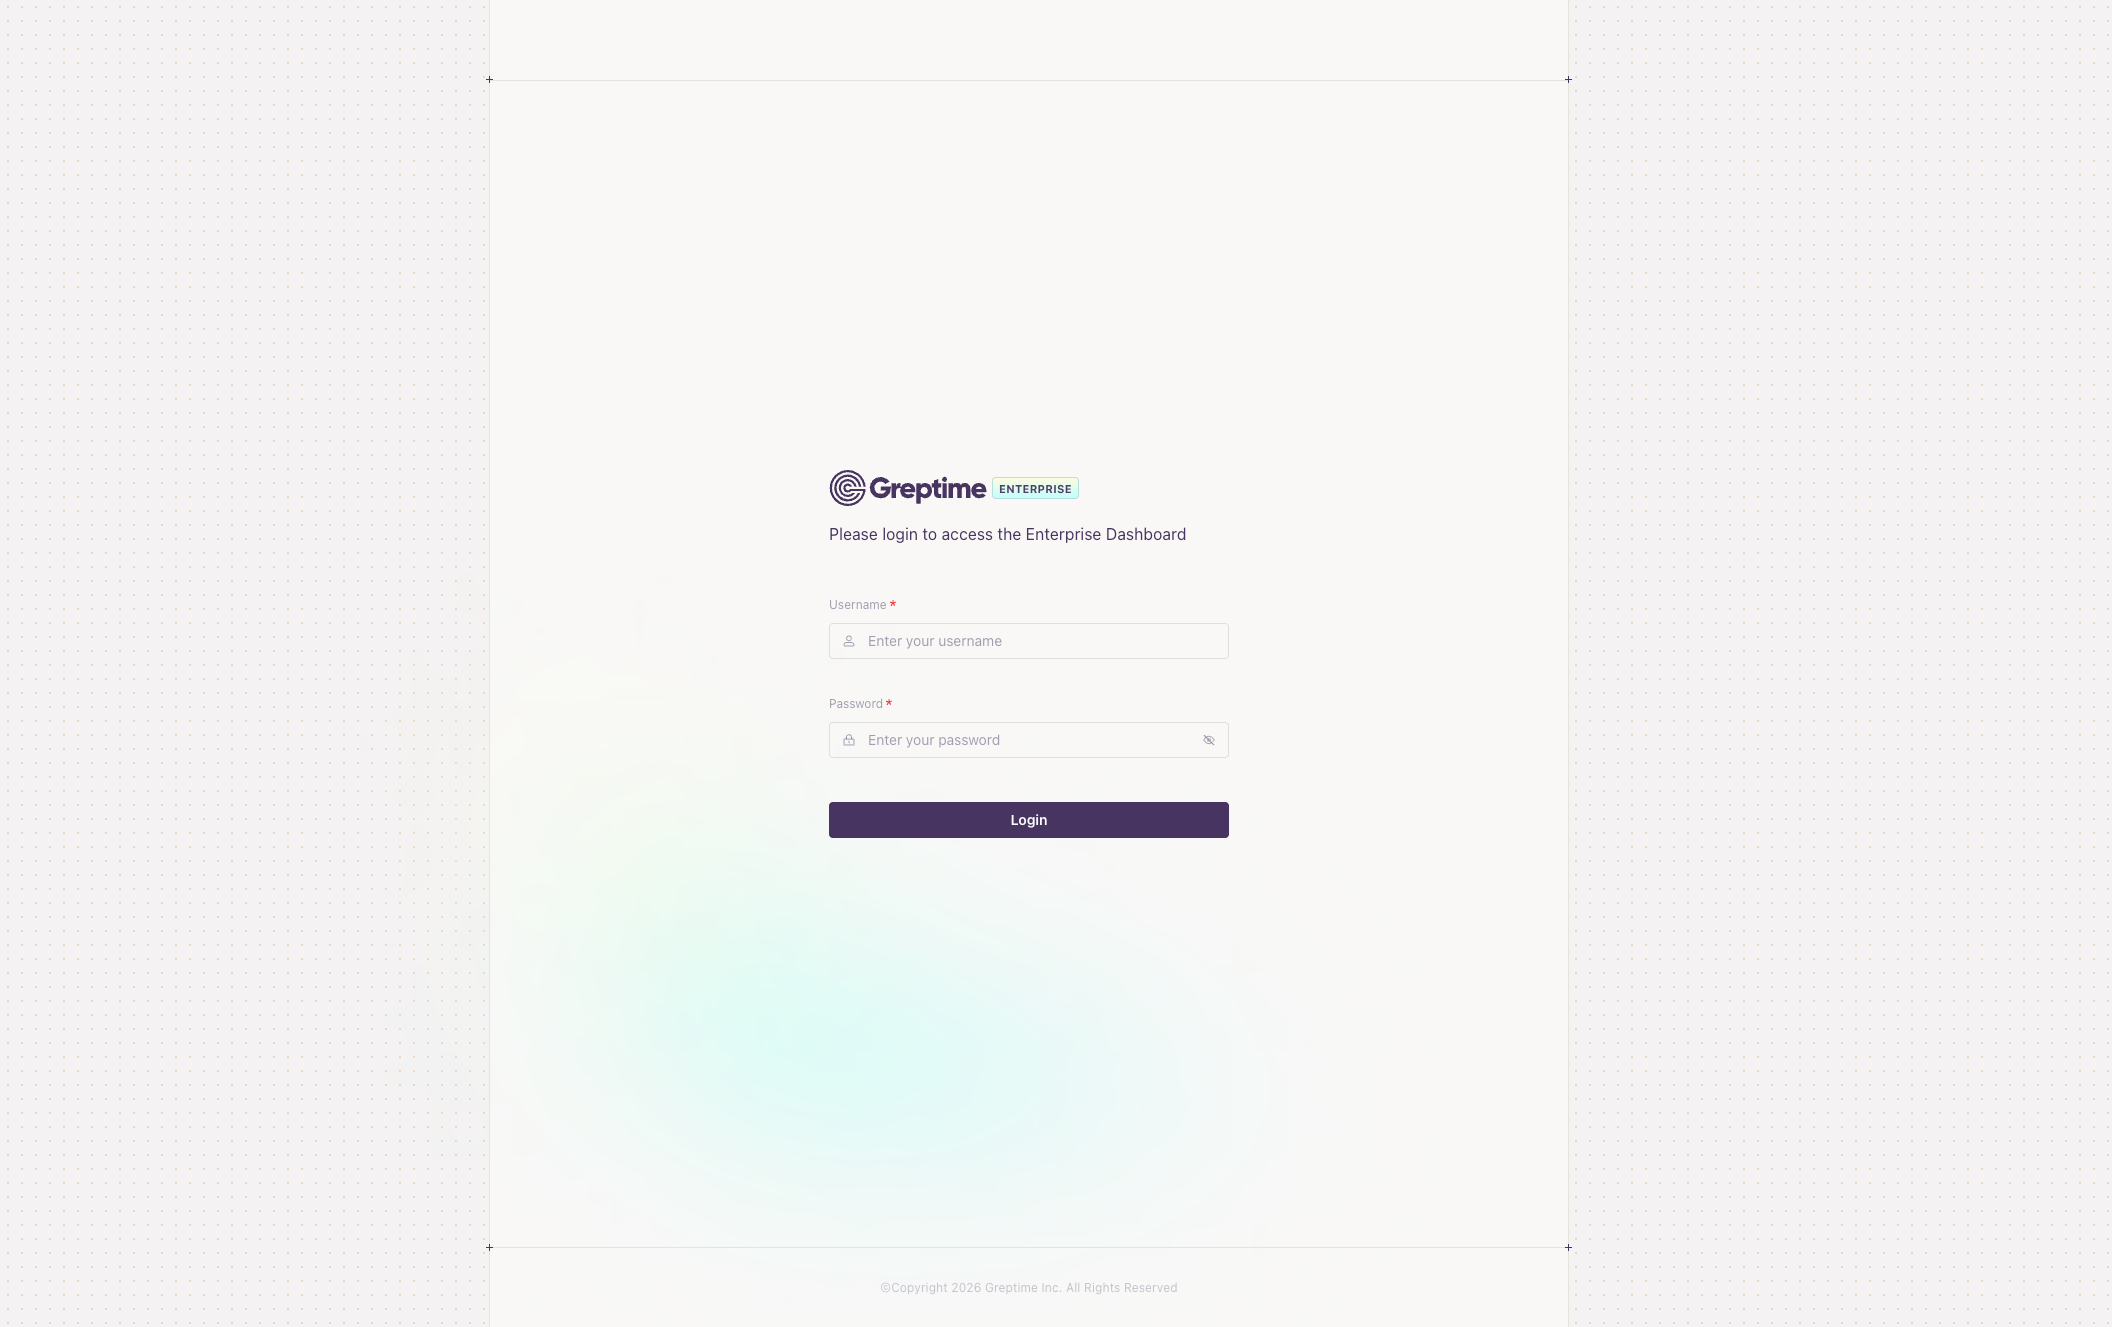
You can log in with the automatically created admin account or with an account defined in the seeding file.
Only accounts with the Admin privilege can see the database management menu.
Non-admin accounts can only access the query page, similar to the open-source
dashboard.
After logging in as an admin user, click User Management in the lower-left
corner to open the user management page:
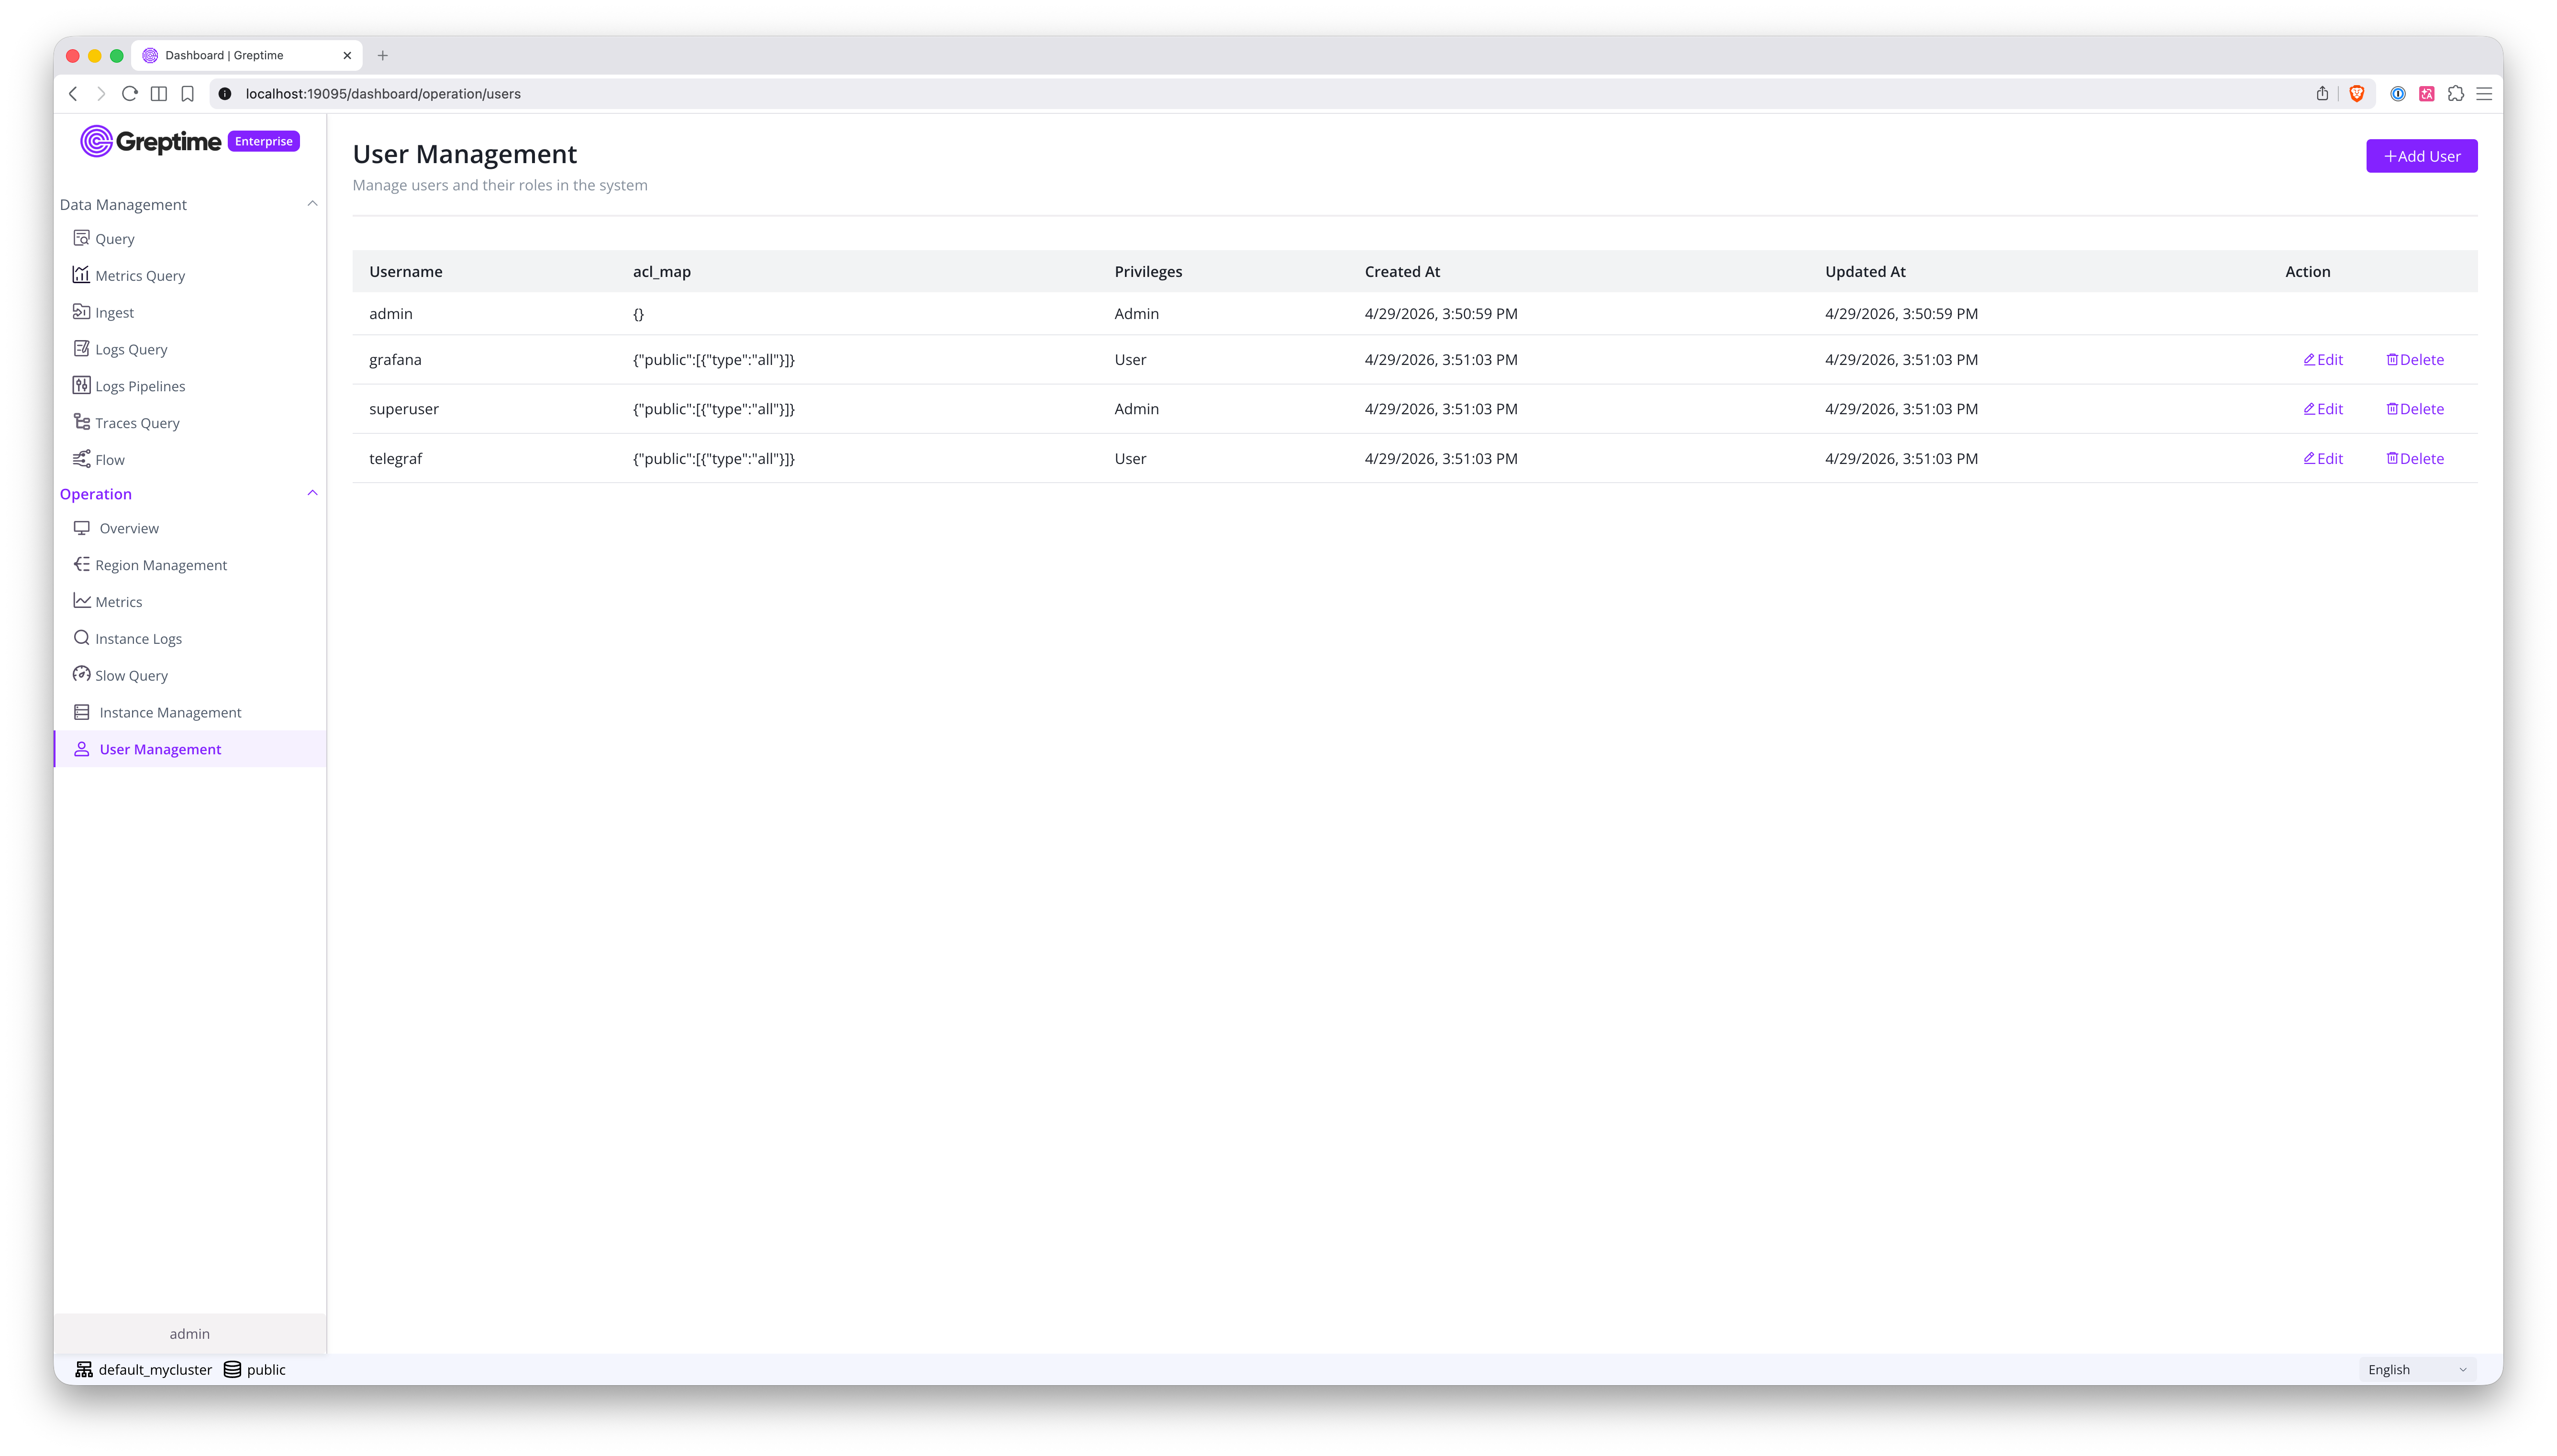
This page lists all current users. From here, you can:
- Create users
- Update existing users
- Delete users
The following screenshot shows the form for creating a user:
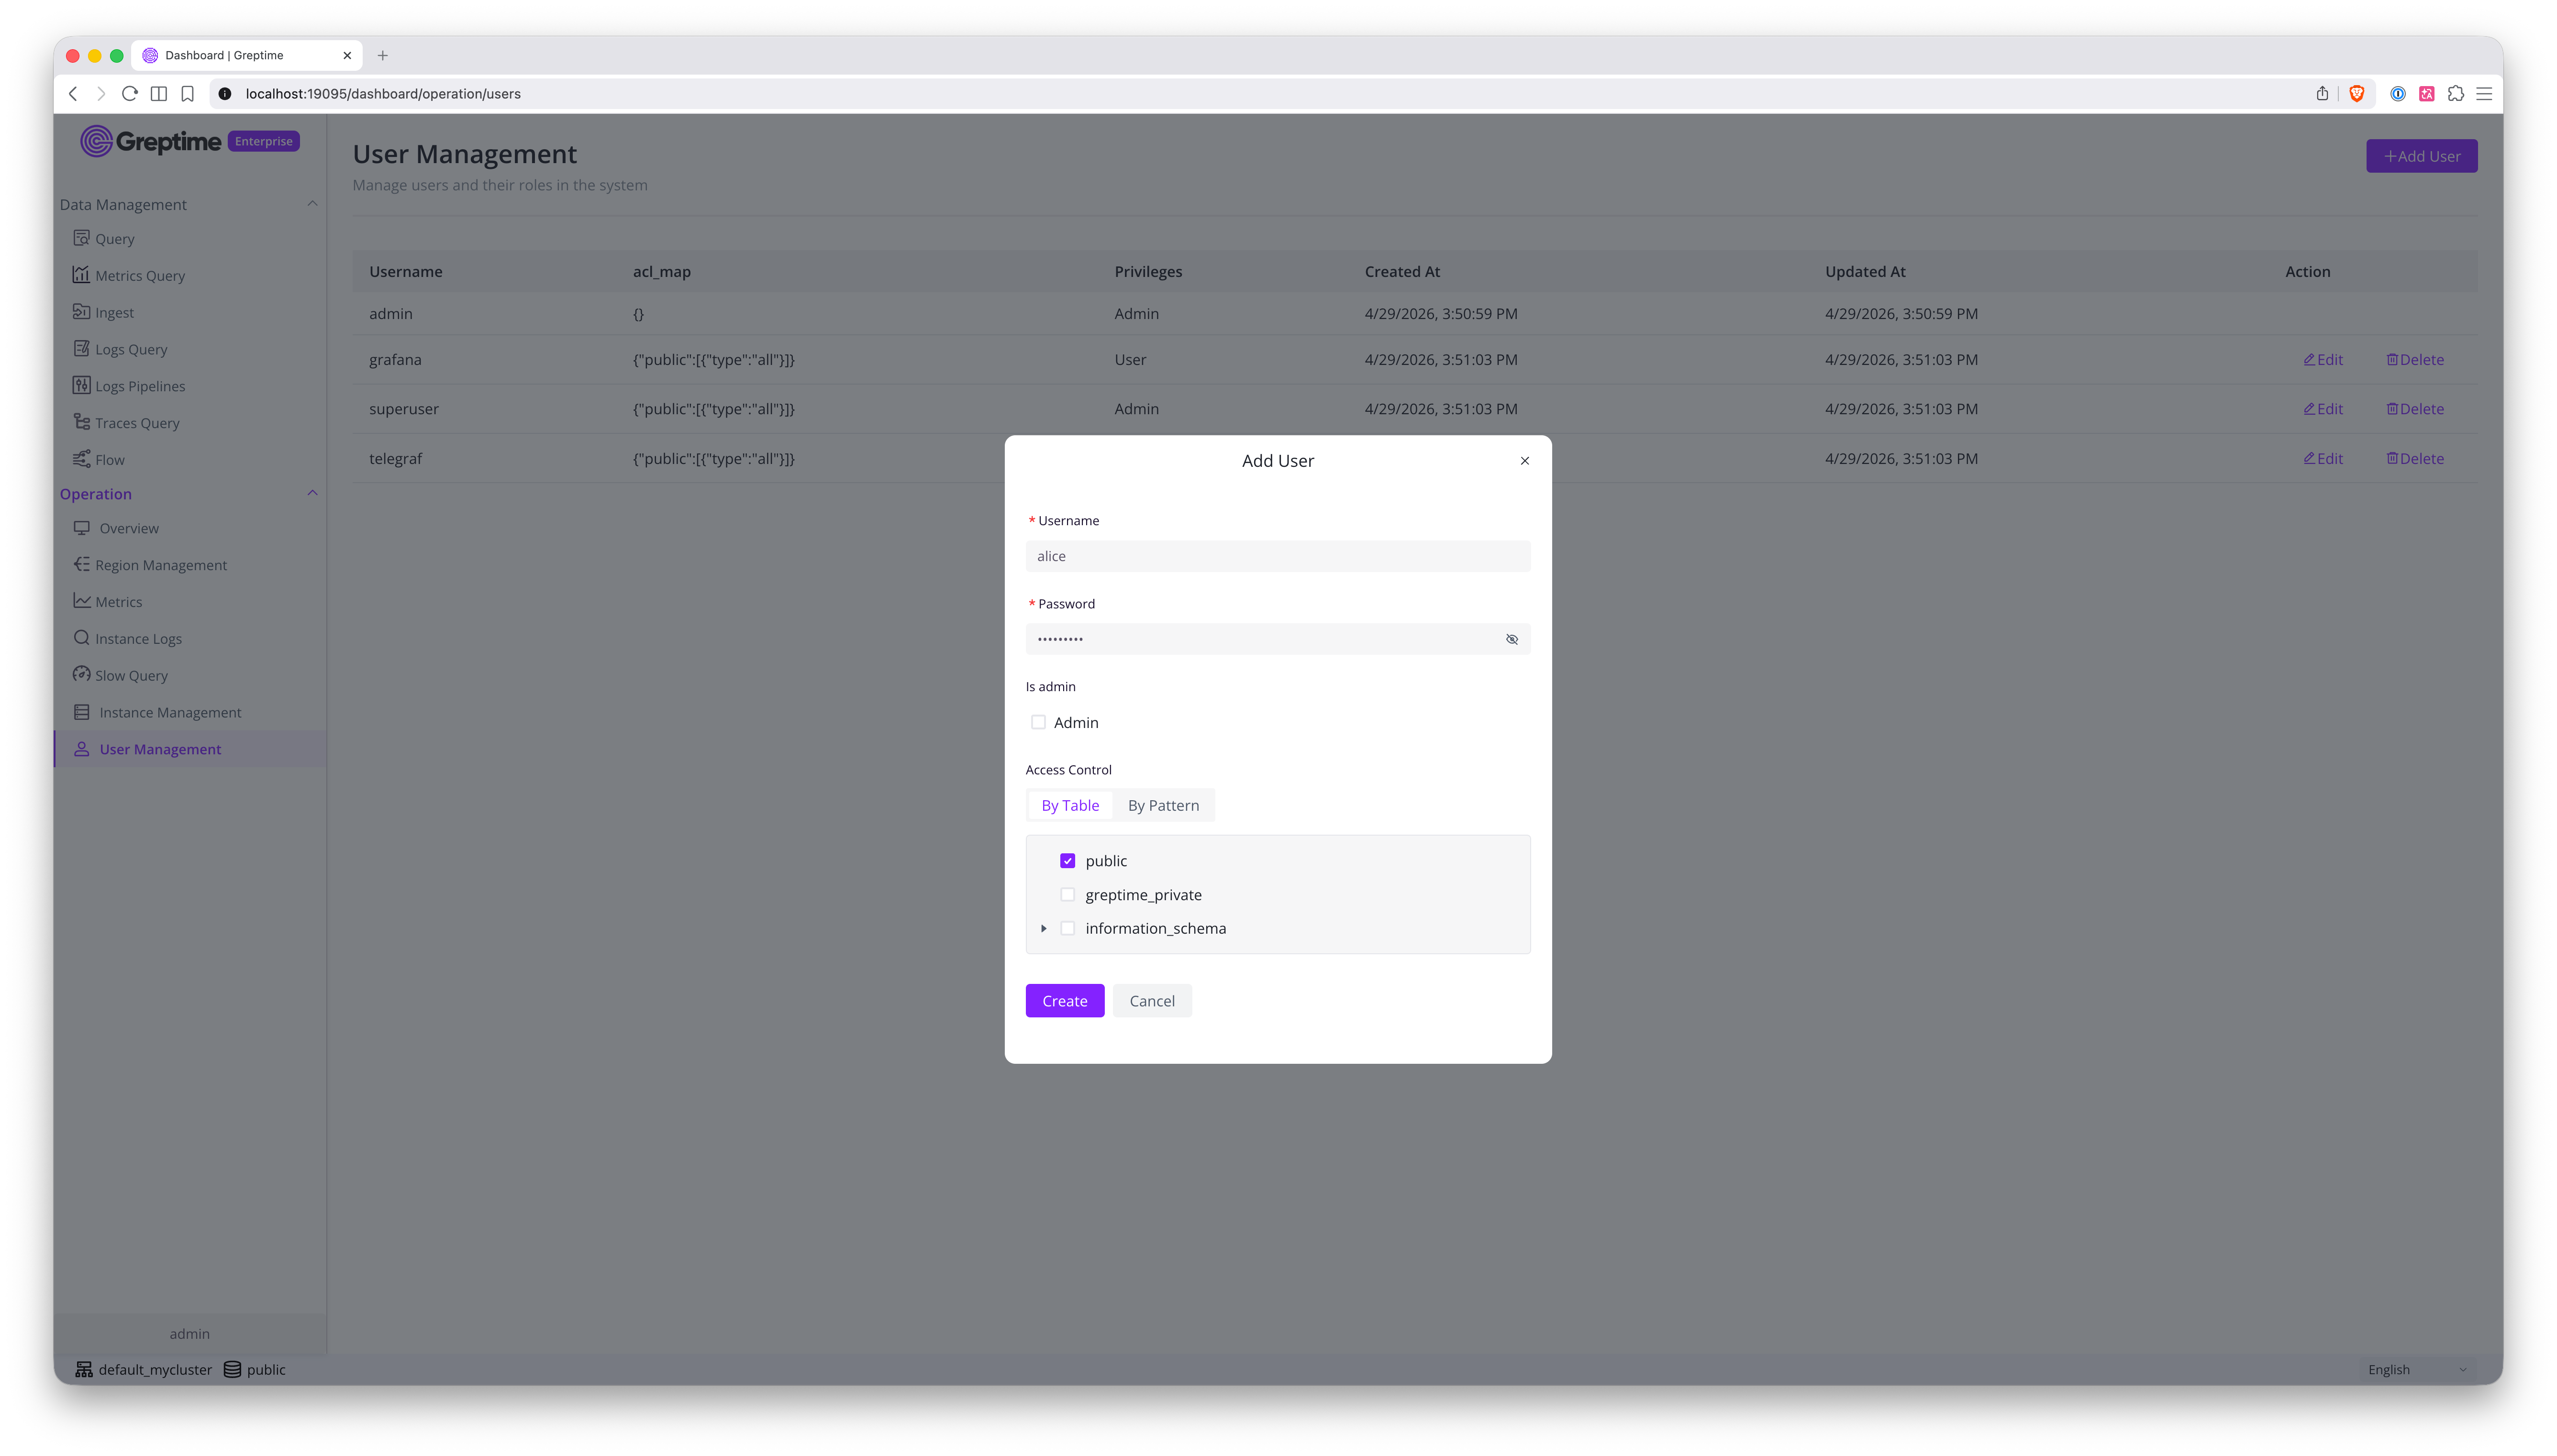
In this form, you can configure:
- The username
- The password
- Whether the account has the
Adminprivilege. Non-admin users are granted thereadwriteprivilege. - The account ACL list
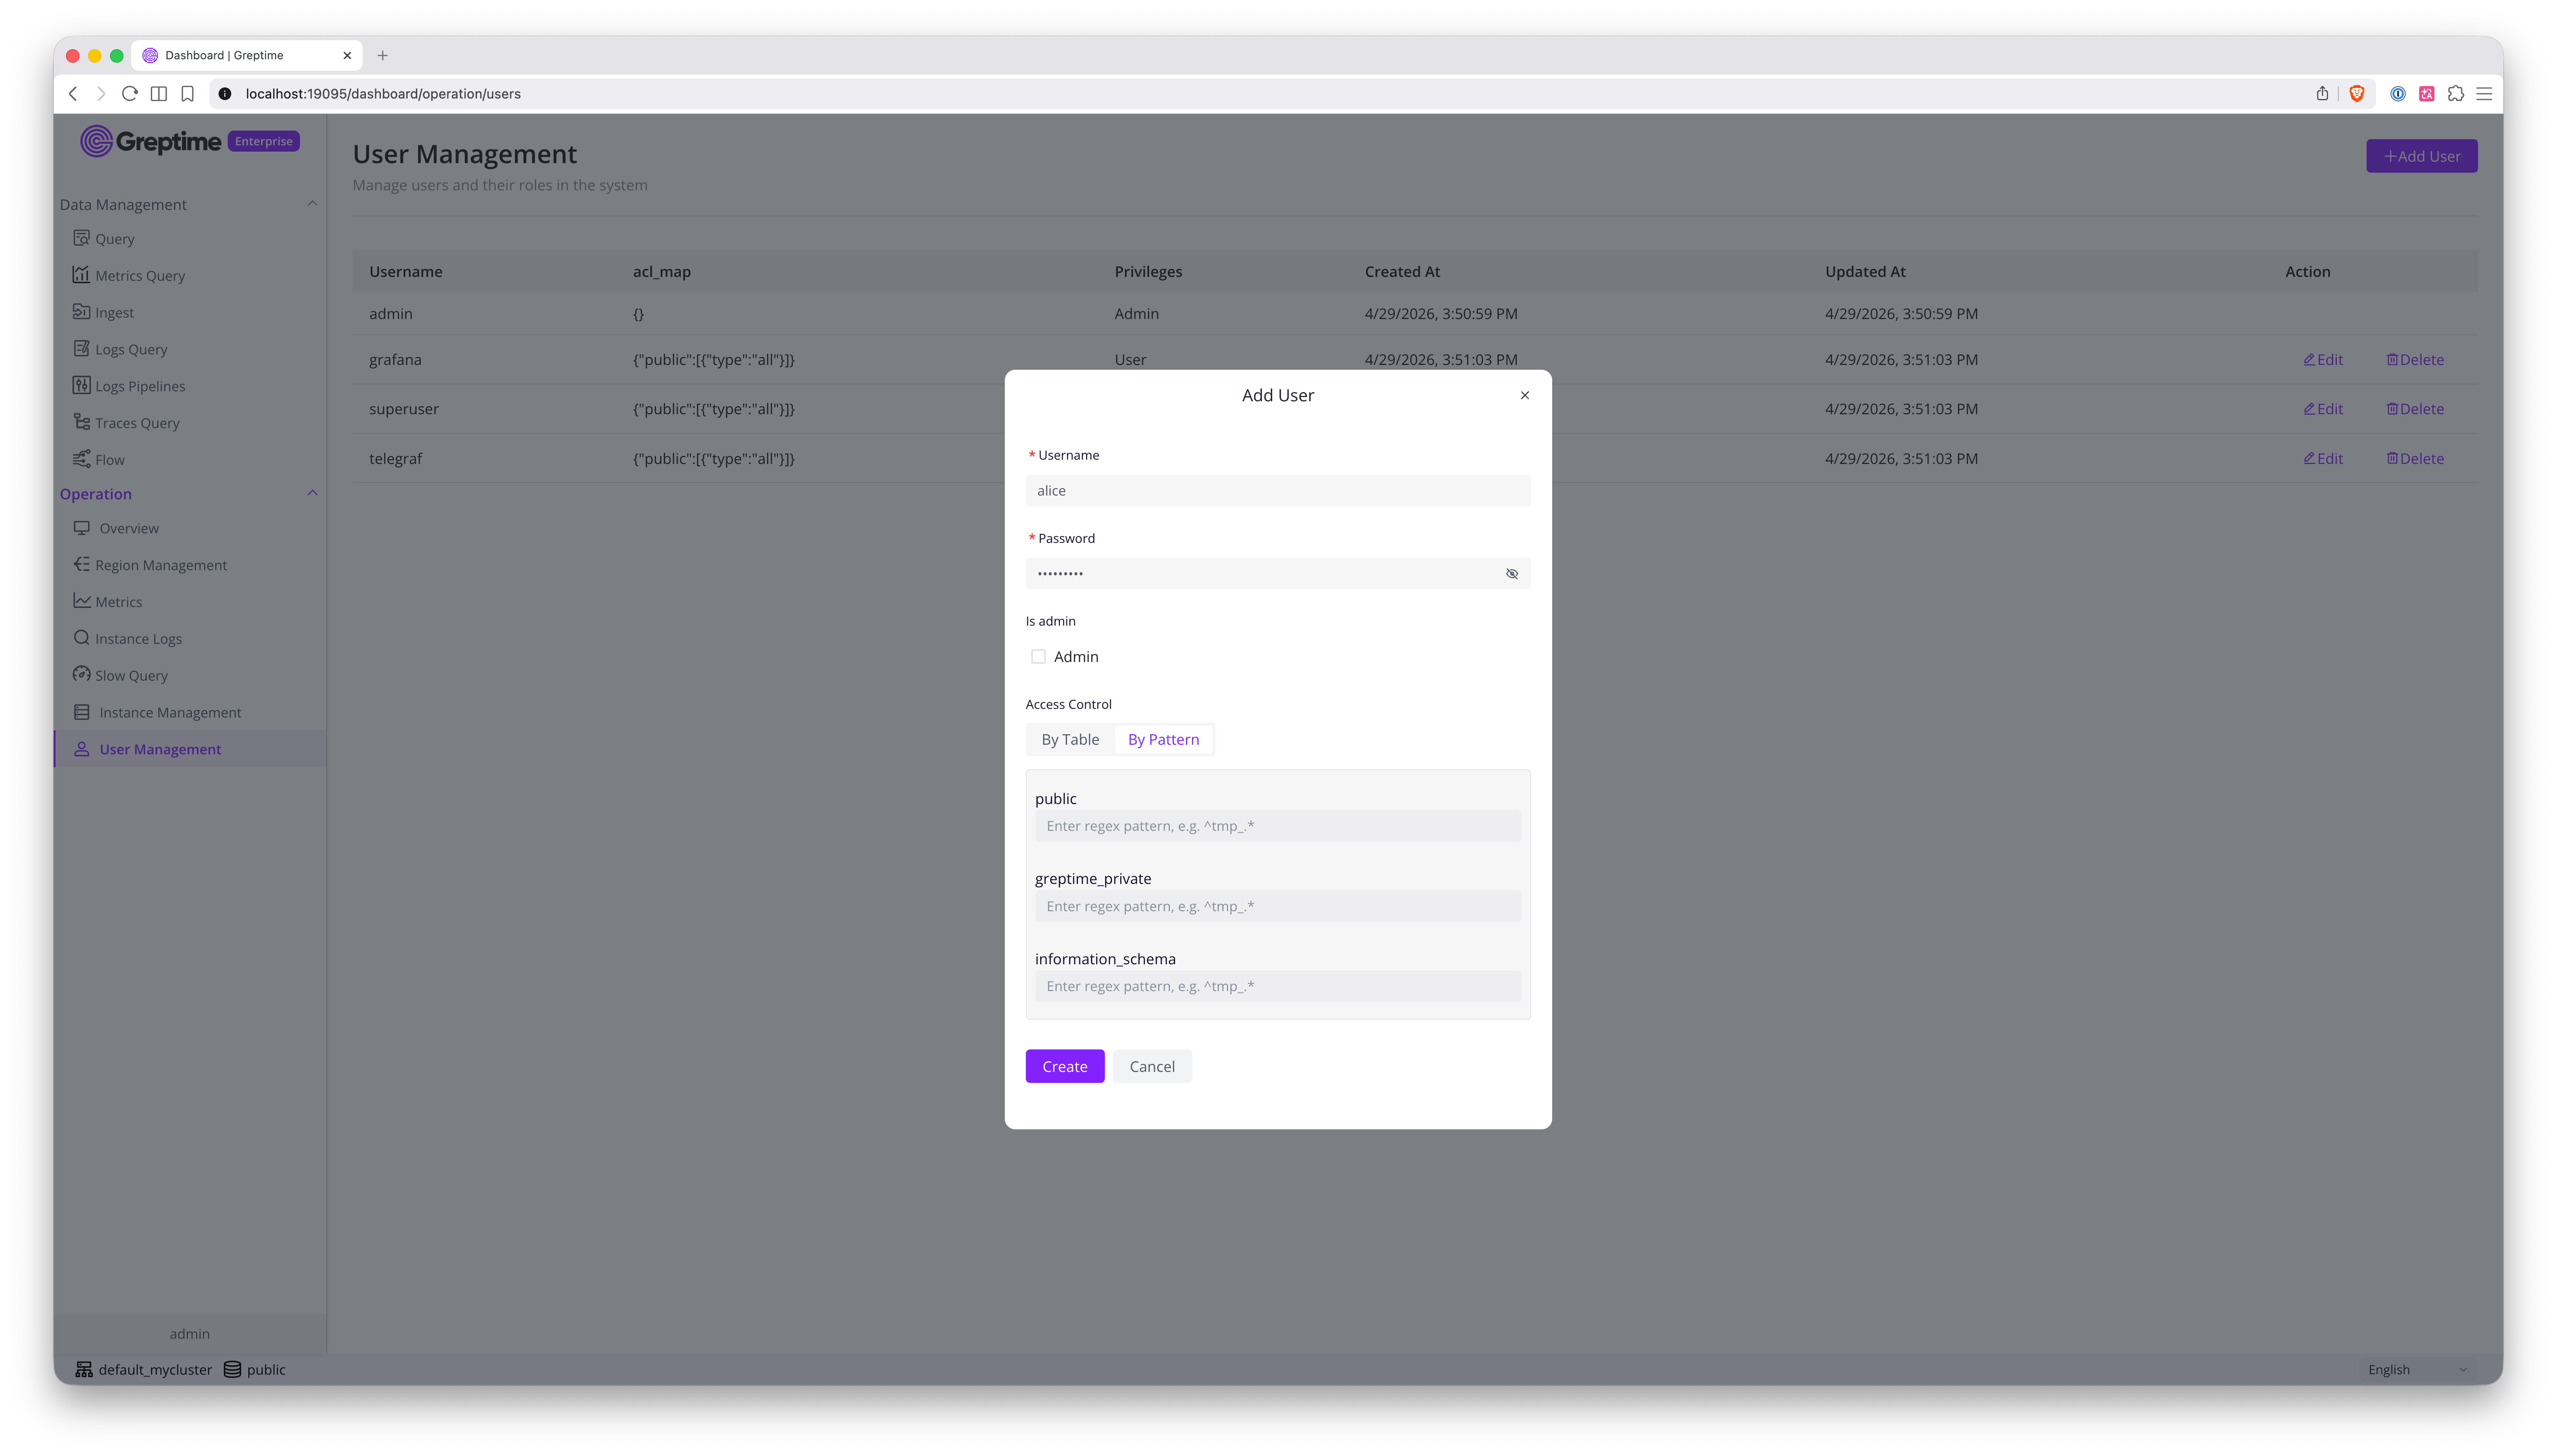
The ACL form has two tabs. You can select an exact table, select an entire database to grant full-database access, or use a regular expression to grant access to a range of tables. The following screenshot shows the regular expression form:
Reference
- Admin Account: On the system's first startup, GreptimeDB Enterprise
automatically creates a default
adminaccount if it doesn't already exist.- If the environment variable
GREPTIME_ENTERPRISE_ADMIN_PASSWORDis set, it uses that value as the password. - If the environment variable is not set, it generates a random UUID as the password.
- If the environment variable
- Checking Auto-generated Password: If a random password was generated,
you can find it in the GreptimeDB log files. Search for a message like:
Created admin user with auto-generated password <UUID> - Resetting the Admin Password: You can reset the
adminpassword using the CLI without manually editing the KV store. The command reads backend storage settings from a Metasrv config file and supports the standardGREPTIMEDB_METASRV__...environment variable overrides.This command must be invoked from a Metasrv instance. The./greptime-ee cli user admin-password \
--new-password <new-password> \
--config-file /path/to/metasrv.toml--config-fileshould point to the same Metasrv config file used by your Metasrv (or standalone) deployment, so the CLI can locate the correct backend storage (etcd, MySQL, or PostgreSQL). - Persistence: User information is persisted in the Metasrv's KV store, making it available across all frontend nodes in a cluster.
- Admin Protection: The built-in
adminuser cannot be deleted via the API.